Showing posts with label how to. Show all posts

Monday, January 4, 2016

How To Create a Successful Personal Fitness Program


How to Create a Successful Personal Fitness Program - The Daily Fashion and Beauty News


Hello, 2016! 

Like many of you, today is my first official day back at the LFD offices. And I have to say: I'm super excited and motivated to get this new year started on a positive note. 

In order to do that, I decided to make it a priority to work on my overall health this year by creating (and maintaining) a personal fitness program.

If one of your new years goals is to workout on a regular basis, then please continue reading below some tips and tricks that will help you create a successful personal fitness program.  

1. NO MORE EXCUSES

Stop making excuses for not working out. Schedule a block of time to workout tomorrow, even if it's only for 15 minutes. Tomorrow, schedule another block of time for the next day. Do this daily and eventually you won't need to make that appointment with yourself and your workout time will increase. Soon, exercise will just be part of a normal day.

TIP: To give you an idea, here's what I do: When driving back to the house in the mornings after taking my daughter to her bus stop,I have no other choice but to drive by the gym. So, instead of speeding by the building once I turn the corner onto the street where it's located, I convince myself that all I need to do is go inside and workout for a few minutes. Once I walk through the front doors, I connect my cell phone to their wifi, load a YouTube video that's about 15-20 min long and begin my workout. By the time the video ends, I've worked out for the day without even knowing it. 

2.DO WHAT YOU ENJOY

A great way to stay fit is to pick a fitness related activity that you absolutely love. This could be something like bike riding, roller blading, or even hiking. This way you will be exercising fairly strenuously and because it is something you really enjoy you won't even notice it.

TIP: As someone who likes to go for walks, I tend to gravitate to the nearest treadmill. If there is none available, then I'll choose the elliptical. And, when I'm feeling ballsy, I'll do some light weight lifting. 

3. GET OFF THE COUCH 

One way to get fit is to replace all your normal sedentary habits with active habits. For example if you watch TV for about three hours a day this can be replaced with a one hour walk and two hours of TV. By doing this you get some exercise into your regimen and don't sacrifice something you enjoy.

4. FIND YOUR SWEET-SPOT 

If you're having a difficult time fitting exercise into your day, try doing it early in the morning. If you wake up and tackle your exercise plan first thing, you won't have to worry about it for the rest of the day. You can also often complete a thirty minute work out before the rest of your family is awake, making it less of an interference in your every day chores and duties.

TIP: Like I mentioned before, I go to the gym first thing in the morning, which is typically around 6:30 AM. If the morning time does not work for you, try going in the mid-afternoon or even at night. 

5. START SLOW...

While fitness should push our bodies, it is important though that you not push yourself too hard. By trying to exceed your body's capabilities, you are not doing yourself any favors; in fact, you may be causing yourself injury. My suggestion is to take is slow. When you schedule your fitness routine, start off with easy to do stretches or jump rope. The point is: Don't over do it! 


With the previous tips floating through your thoughts, you ought to be ready to create your own personal fitness routine! It does take some time and effort, but if you keep at it, it is indeed achievable. So, go out there, enjoy yourself, and achieve all of your fitness goals!


Now it's your turn: Do you have any additional tips to creating a successful personal fitness program? 

Thursday, December 31, 2015

Top 10 Beauty Tutorial Articles of 2015


Happy New Year's Eve!

Tuesday we posted a list of the top three DIY articles from this year and at the end of post we said that there would be a part deux. As promised, here it is.

This list roundup of 10 beauty tutorial articles will help you step-up your skincare routine, inspire you to recreate effortless hair styles and beautiful colored nail art designs. But, it doesn't stop there.

I've included two bonus articles to the list; although not considered to be tutorials, these two articles have some pretty good beauty information that I honestly believe you'll find helpful.

So, grab a snack + your favorite drink and let's get to reading.....

TOP 10 BEAUTY TUTORIAL ARTICLES OF 2015

Skin Care: 

How to Multi-Task Skin and Hair  -  a trend that hit home for many beauty/skincare geeks (myself included!).  Using different types of masks to treat different areas of the face doesn’t only make sense…but, it’s kind of genius. 

Beauty Guide: How to Apply Your SkinCare Products -  one of the most important steps to maintaining healthy youthful skin is by learning which order to apply your skincare products. You want to make sure you’re getting the most of them, right?  

Bonus: 
Ingredients to Look for in Your SkinCare Products -  not exactly a beauty tutorial article, but it still remains to hold a top spot as one of the most popular articles of 2015.  And for that I say: Thank you! 

Nail Tutorials: 

Red + Gold Ombre Nail Tutorial -  beautiful nail art to wear during the holidays due to the colors, however I’m positive that you’ll find a way to recreate this tutorial using any colors you wish. 

Pretty Yet Spooky: Easy Halloween Nail Tutorial -  although Halloween has passed, this tutorial can still be worn by pairing your favorite colored polish with a black one. 

Ombre Nail Tutorial -  round up your three favorite colored nail polishes and you’ll be able to create a sleek nail art look in no time. 

Hair Tutorials: 

The Ultimate Katniss Hair + Makeup Tutorial -  yes, you’ve probably seen the movie already (I did and was slightly disappointed. Why could’t she end up with Gayle?!) But now you can easily recreate Katniss’ hair + makeup anytime you’re feeling completely fearless. 

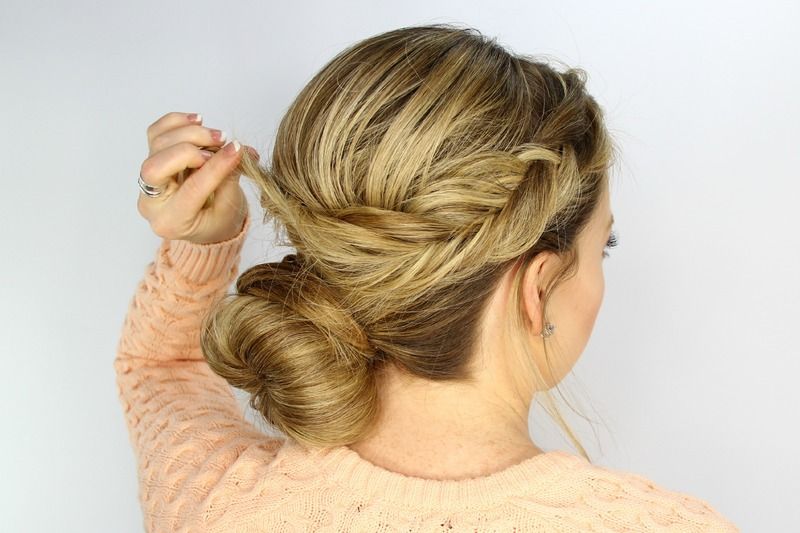
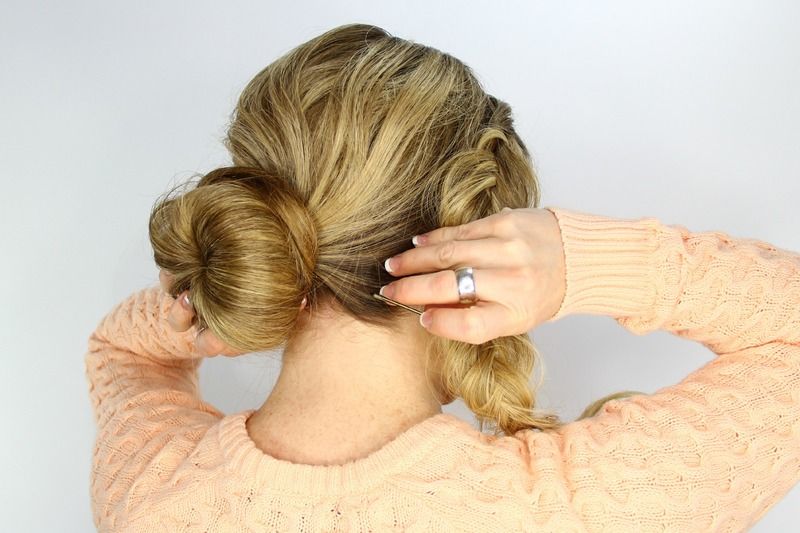
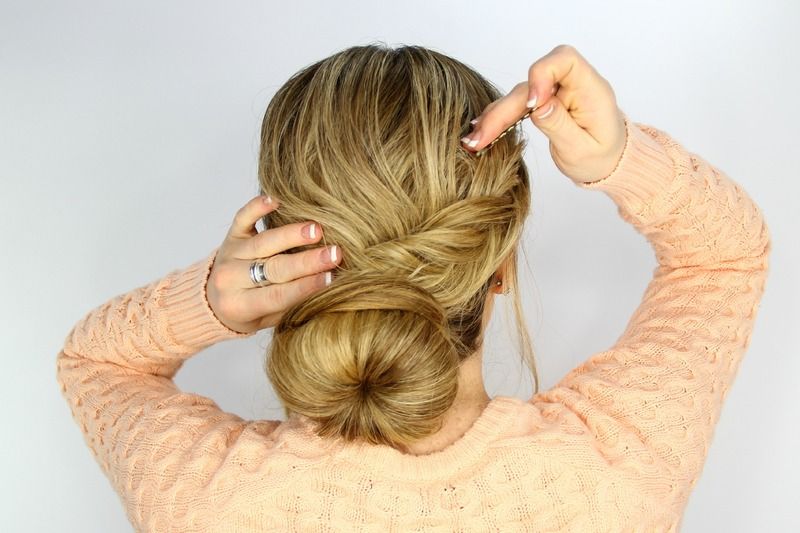
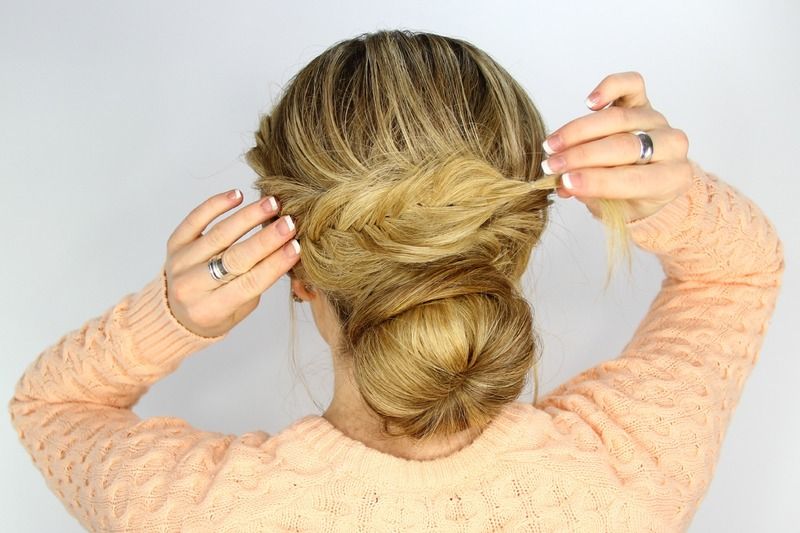
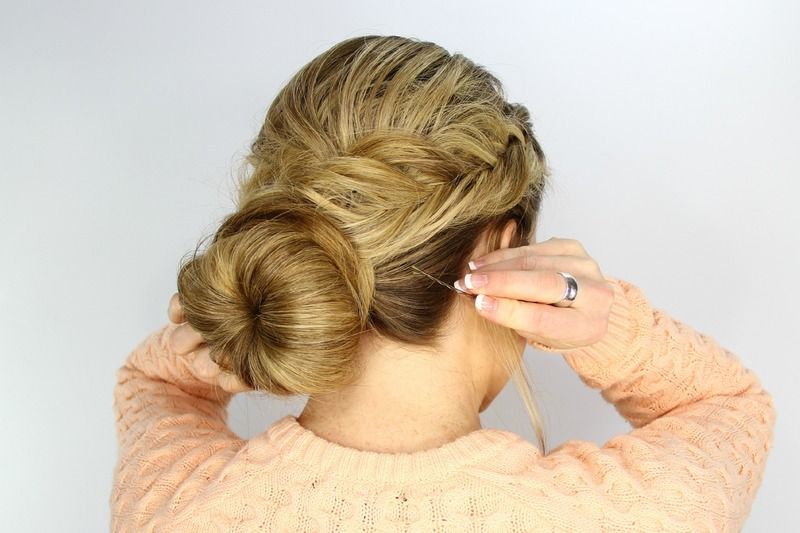
The Perfect Fishtail Wrapped Bun Tutorial -  it may seem like there are a lot of steps, but once you get the braiding done, this hair style comes together in almost an instant. 

Back to School: The Rosette Embellished Ponytail Tutorial -  this simple hair style is not just for those of you who will be going back to school next week but really, anyone who’s into the half bun look will definitely find this tutorial useful. 

The Easiest Knotted Undo Tutorial You’ll Ever Try -  looking for a new way to wear a low bun?  This knotted up-do should do the trick. 

Quick Guide: The Rodarte Inspired Messy Braid Photo Tutorial - a simple messy braid hair style in only seven steps?  Yes, please. 


Bonus: 

Ultimate Hair Tutorial: CW’s Jane the Virgin Female Characters -  if you’re a fan of this popular show, you’ll definitely enjoy these hair tutorials. Learn how achieve the styles worn by Jane, Petra, XO, and Rose during the show’s first season. 


I hope you find both top 10 article lists from this week to be helpful. I want to end today's article by thanking you for your support. I am extremely overwhelmed in gratitude for all the visits, reads and shares by you and everyone who takes the time to browse this blog. 

I would like to take this chance to invite you to subscribe to our VIP newsletter because there will be new articles, tips, lookbooks, eBooks and more coming to this blog during 2016 and I don't want you to miss any of it. 

So, until we speak again next year, I wish you + yours the warmest of wishes: May this new year bring lots of crazy happy soulful adventures, tons of laughter along with endless successful ventures.  

With love + gratitude, 
Mia 

Friday, November 13, 2015

Red + Gold Ombre Nail Tutorial

Hello there Gorgeous! 

Can you believe that the month of November is almost over?  I can't. It's crazy how quickly the days go by once Halloween is over. But, there is a silver lining: the Holidays are right around the corner. 

And that's something we all look forward to, amiright? 

So, if you’re starting to feel the holiday vibes, then you’ll want to check out this new nail art tutorial from our close friends at Julep. 

Recently, they shared a gold-and-red ombre nail look that will bump up those festive feelings and get you ready for Turkey Day and beyond.  Best part about it is that this ombre tutorial is so easy, you don’t have to be a nail artist to create this shimmery look.

To begin, this is what you'll need to accomplish these beautiful red + gold ombre nails. 


This nail tutorial uses two polish shades from Julep's new Jingle Bells Welcome Box – which you can get for FREE when you join the Julep beauty box subscription. Once you join, you’ll get a box of on-trend, gorgeous, and good-for-you products delivered to your doorstep every month.  On the other hand, if you’re already a Maven (like I am!), you can snag these colors in Julep's  Very Merry Polish Duo gift set.

Now it's time to get into this easy Red + Gold Ombre Nail Tutorial. 


Red + Gold Ombre Nail Tutorial - The Daily Fashion and Beauty News


To get started, pick a gold and a sparkly red polish (they are using Margot Bombshell and Neely from the Jingle Bells box) and follow these simple steps:

1) Paint one coat of Gold, then let dry completely.
2) Dab a makeup sponge with the red glitter polish
3) Blot the makeup sponge on the tip of the nail to create the ombre effect.

Then, add the top coat, and you’re done!

These red + gold ombre nails are perfect for the upcoming Holidays. You can wear these nails for Thanksgiving dinner or for Christmas - while opening your gifts ;) 

For those of you who may not be all about red and gold, here is another similar ombre nail tutorial we shared a few weeks ago: Galaxy Inspired Ombre Nail Tutorial 


Hopefully this easy to follow ombre nail tutorial inspires you to treat yourself to a little glam this weekend. If you enjoy reading nail tutorials + nail related articles, I invite you to sign up for our weekly newsletter where we promise to only share good stuff with you once a week (typically on Friday evening). 


Subscribe to The Daily weekly newsletter

* indicates required


PS. We are currently in the process of creating a few lifestyle (beauty + fashion + foodie) related eBooks within the next few weeks - if you're getting our newsletter, you'll be among the first to have vip access to each one! 

Friday, October 23, 2015

The Perfect Fishtail Wrapped Bun Tutorial


The Perfect Fishtail Wrapped Bun Tutorial - The Daily Fashion and Beauty News


Happy TGIF Beautiful! 

It's been a few weeks since the last time we shared an a easy-to-follow photo hair tutorial, so we figured it was time to post a new one for you to try out this weekend. 

Today's fishtail wrapped bun tutorial has been provided by Melissa Cook, contributor at Latest-Hairstyles.com

According to Melissa,  "Fishtail braids continue to be all the rage right and this hairstyle features two of them. This fishtail wrapped updo is quick and easy once you get the braiding part down, and the perfect hairstyle to keep in your beauty repertoire. This look is both trendy and chic, and luckily it looks trickier than it actually is to create!"

Without further adieu, let's get into the tutorial. 


The Perfect Fishtail Wrapped Bun Tutorial

What You Need:


  • 2 alligator clips
  • 4 elastic bands
  • 1 donut bun
  • 3-6 hair pins
  • hairspray

Step 1
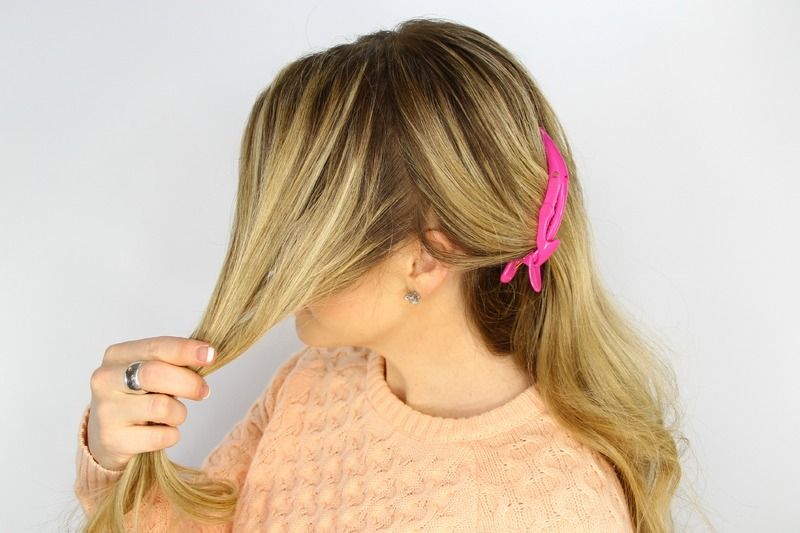
With a part on the right side, separate off a portion of hair from the part down to the left ear. Clip off the back portion of hair with an alligator clip.


Step 2
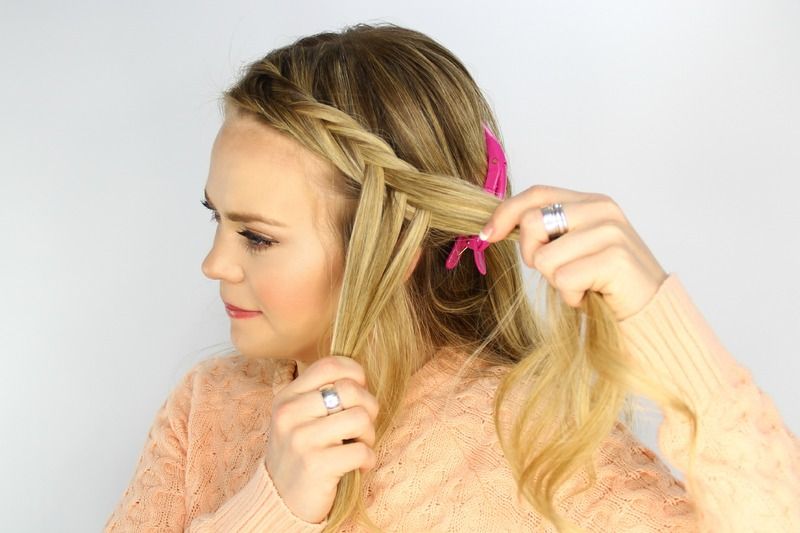
Pick up a section of hair near the part and begin a fishtail French braid. This is done by dividing the section into two halves and crossing small sections of hair underneath to the opposite side while incorporating hair into the braid each time.


Step 3
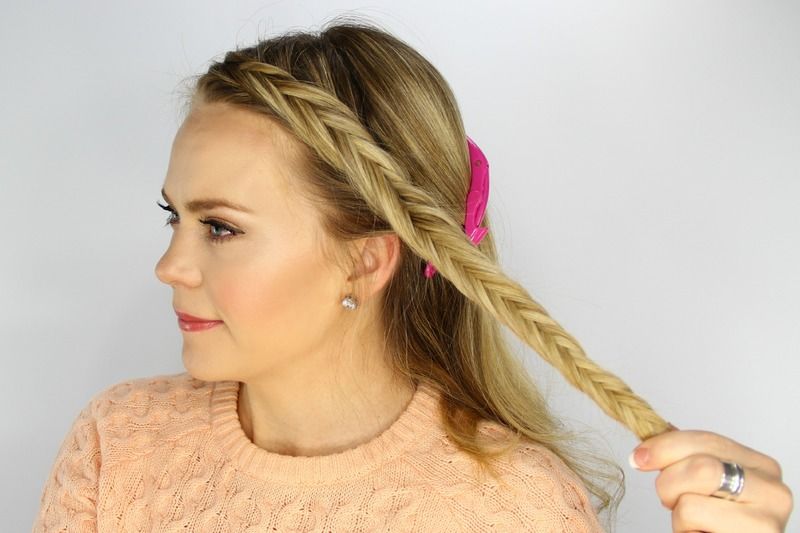
When all of the hair is brought into the braid, finish braiding the section down into a regular fishtail braid.


Step 4
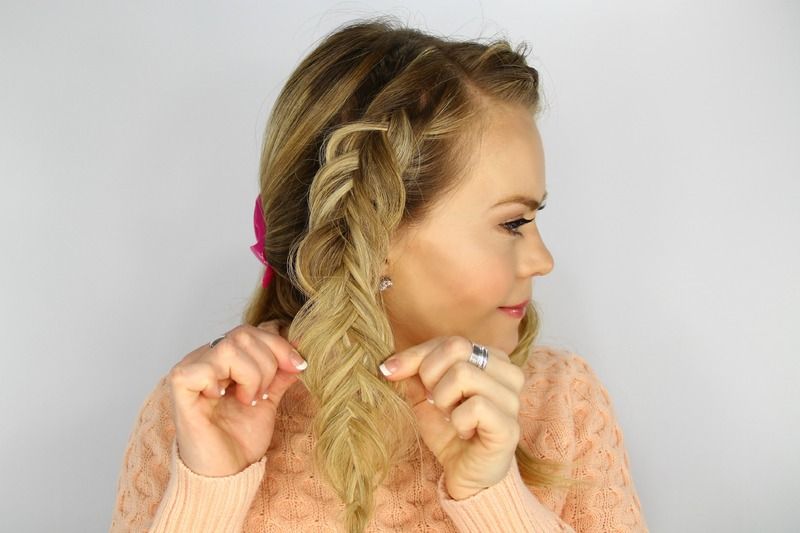
Gently pull on the edges of the braid to loosen and create a fuller braid. Tie off the end with a clear elastic band.


Step 5
Repeat the previous steps creating another braid on the right side of the head.


Step 6
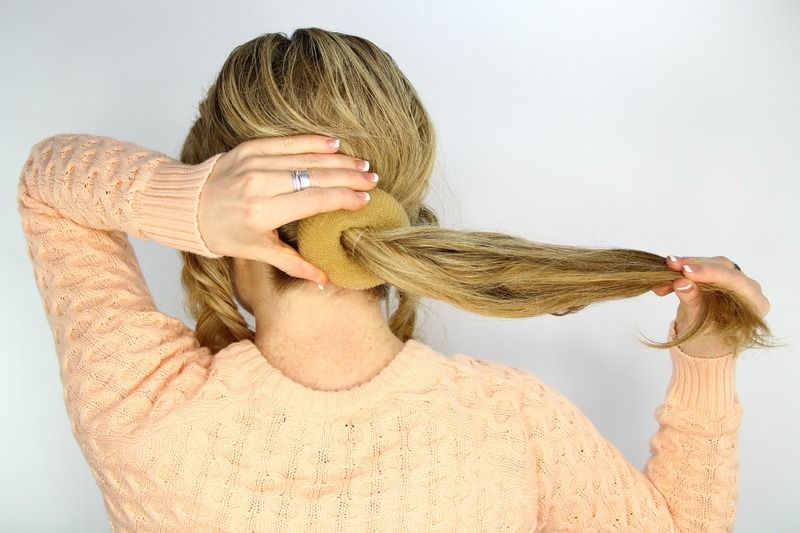
Let down the hair at the back and sweep it up into a low ponytail, tying it off with another elastic band.


Step 7
Take a hair donut and wrap it over the ponytail.


Step 8
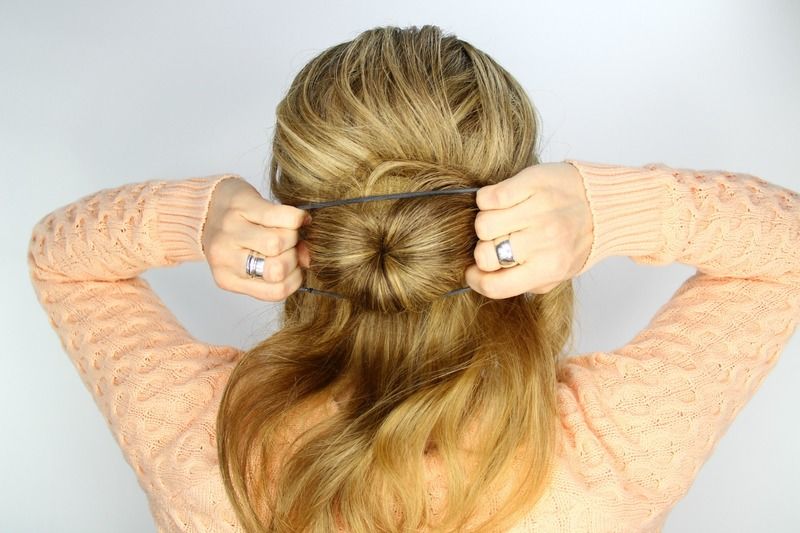
Spread the hair around the donut and wrap another hair band over the top to secure it.


Step 9
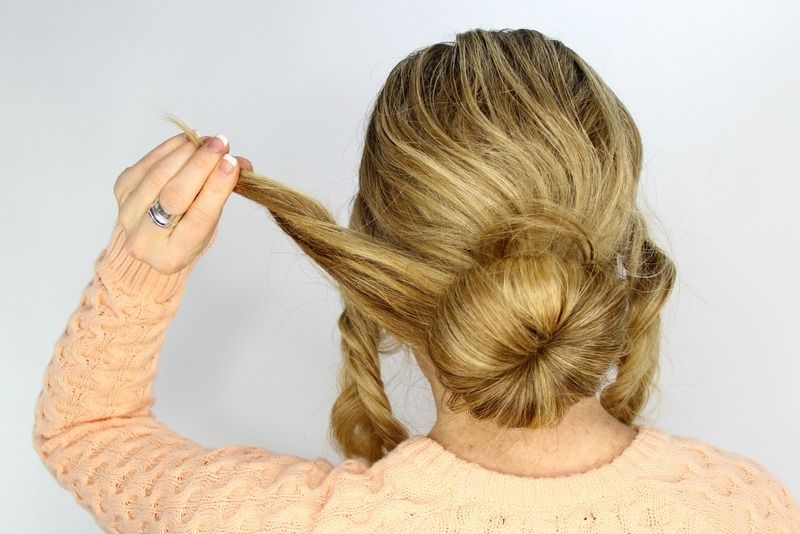
Twist the hair sticking out from the donut and wrap it around the base of the bun.


Step 10
Pin down the ends with a hair pin.


Step 11
Pick up the braid from the right side of the head and wrap it over the top of the bun and around to the left side.


Step 12
Slide in some hair pins to secure the braid against the head.


Step 13
Now wrap the braid from the left side over the bun.


Step 14
Pin this braid down with another hair pin.


Step 15
Shower the style with hairspray and smooth down any flyaways.


Will you be giving this fishtail wrapped bun tutorial a try this weekend?  If you so, tag us so we can see and share your photos! 

Instagram: @latinflavadesigns

Twitter: @latncookndiva

Pinterest: @latinflavadesgn


Tuesday, August 4, 2015

Beauty Guide: How to Apply Your Skin-Care Products

Learning how to apply your skin-care products may sound trivial, but knowing the best method to do this should be considered as something important. 

Think of it this way - skin-care products are not exactly cheap. Even if you choose to use drugstore brands, these products will still cost you on average about $10 - $25 + depending on the brand you purchase from. And that cost is just for one product alone. We all know that the average woman uses at least a minimum of 3 -4 skin-care products everyday. 

So, if you are going to be spending money on several skin-care products every 30 days or so, you might as well learn how to get the most benefit from them.  ( gurl, you want to get yo' monies worth, right?!)

To give you a step-by-step guide, Total Beauty created the following info-graph: 

The Only Way Ever to Apply Your Skin-Care Products

Beauty Guide: How to Applu Your Skin-Care Products - The Daily Fashion and Beauty News


This is certainly the only skin care application guide you'll ever need to refer to. By following this user-friendly guide, you will be on your well on your way to seeing the many benefits of your skin care products.


Were you already following any of these steps?  How do you apply your skin care products?  

Tuesday, July 21, 2015

How To Multi-Mask Skin and Hair

How to Multi-Mask Skin and Hair - The Daily Fashion and Beauty News


Behind The #Multimasking Trend:


Beauty Experts Explain How To Multi-Mask Skin and Hair


Multi-Masking for Skin


"Why tackle one skin issue when you can tackle them all at the same time and look like a warrior princess while doing it," explains Ami Shvartzman, Director of Education for Osmosis Pur Medical Skincare. Check out how you can try “multi-masking” with this protocol from Osmosis Skincare.

Step 1: T-Zone
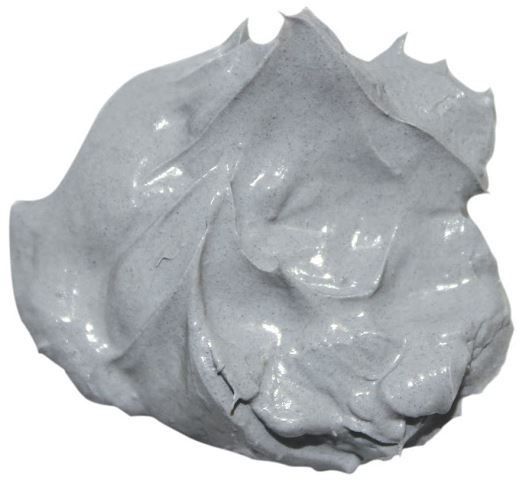
The Osmosis Pore Minimizing Clay Mask is the perfect tool to use for a combination/oily t-zone area. It is a non-drying clay based mask which balances and detoxifies the skin. It uses ingredients like Kaolin and Bentonite Clay to help refine the skin’s texture and smooth out larger pores. The Pore Minimizing Clay Mask also contains Argan Oil which is a sebum regulating oil perfect for controlling oil in this area of the face.

Step 2: Forehead and Cheeks
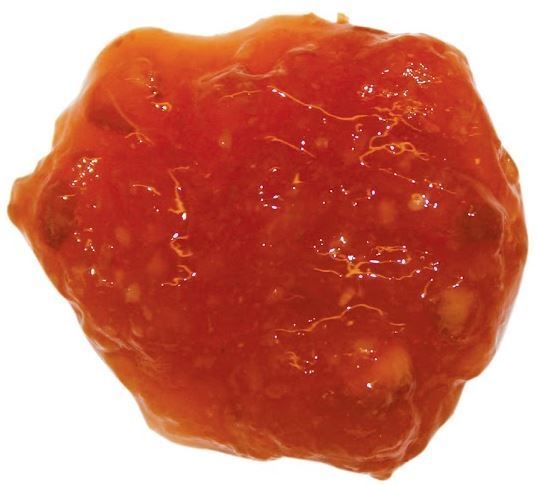
The forehead and cheeks are an area of the face that can be most affected by the damaging rays of the sun and free radicals. Try the delicious Osmosis Revitalizing Orange Zest Mask to provide firming, brightening, nourishing and collagen stimulation. The high vitamin C content in this mask will help to protect the skin from damaging free radicals while brightening the overall tone and offering wrinkle prevention for smoother, more even skin.  

Step 3: Lips
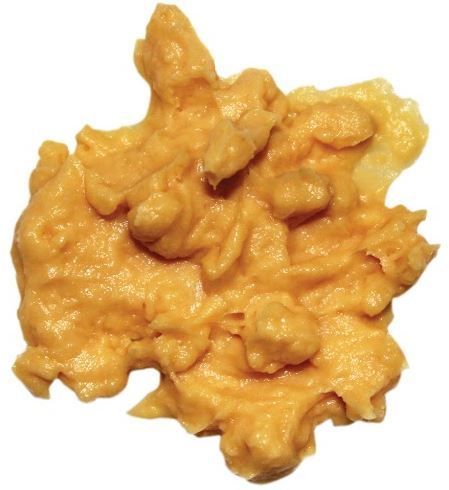
The lips are an area most often neglected when it comes to skincare. Don’t leave them out! Give the Osmosis Tropical Mango Barrier Recovery Mask a try for dry, dehydrated and damaged lips. With a combination of nut and fruit butters as well as oils, this mask will nourish, hydrate, calm down inflammation and restore even the most damaged of lips. With a heavenly scent of mango and a rich luxurious feel, your lips will thank you without even having to make a sound.

Step 4: The Neck
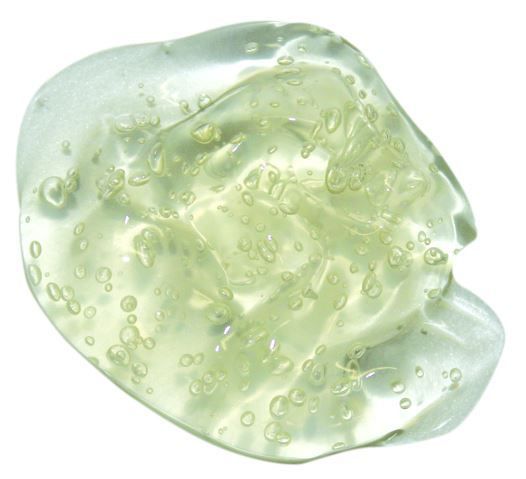
The neck can unfortunately be one of the most obvious indicators of age. Counter this by giving your neck all of the loving care it needs with a different kind of anti-aging mask. The Osmosis Hydralift Firming Gel Mask encourages hydrating and firming in the skin while providing soothing and calming benefits as well from ingredients like cucumber and aloe. The skin is plumped refreshed and has a more youthful appearance.

Multi-Masking for Hair


"The concept of multi-masking for skin can also be applied to hair," explains Kristin Utterback of hairstyling advice site www.Latest-Hairstyles.com. "When you think of how differently you treat various sections, it makes sense to apply certain masks to your ends as opposed to what treatments you would use on your scalp."

1. Apply Hair La Vie Revive Deep Hydration Masque to The Roots and Scalp
This mask contains Vitamin E, which is a great stimulant for the growth of capillaries, encouraging blood circulation in your scalp. It also helps to eliminate dandruff and itching. The product's avocado oil will then deep condition, lock in moisture and promote healthy cell growth. This ingredient is also a natural spf.

This mask's signature ceramic compound uses ceramic and proteins to provide protection to a portion of your hair that often has the most stress. The Ceramic compound releases anions on the cuticles which help to interlink the proteins into the hair strands, imparting luster and strength for a vibrant appearance. The argan oil will hydrate and nourish this dry, damaged section.

3. Apply White Sands ER Fusion to the Ends
Your ends will need some extra TLC and this Emergency Reconstructive Treatment will do the trick. Plus, ER Fusion’s unique delivery system ensures optimum performance with results lasting 30 days after each initial use. Frayed, split ends will feel softer and more manageable.


Depending on your individual needs, are you willing to begin multi-masking as part of your skin / hair care routines?